Pre-Production Sample: A 12-Point Checklist Before Bulk
What a pre-production sample is, how it differs from a fit sample, and the 12 checks to make before you approve bulk production.
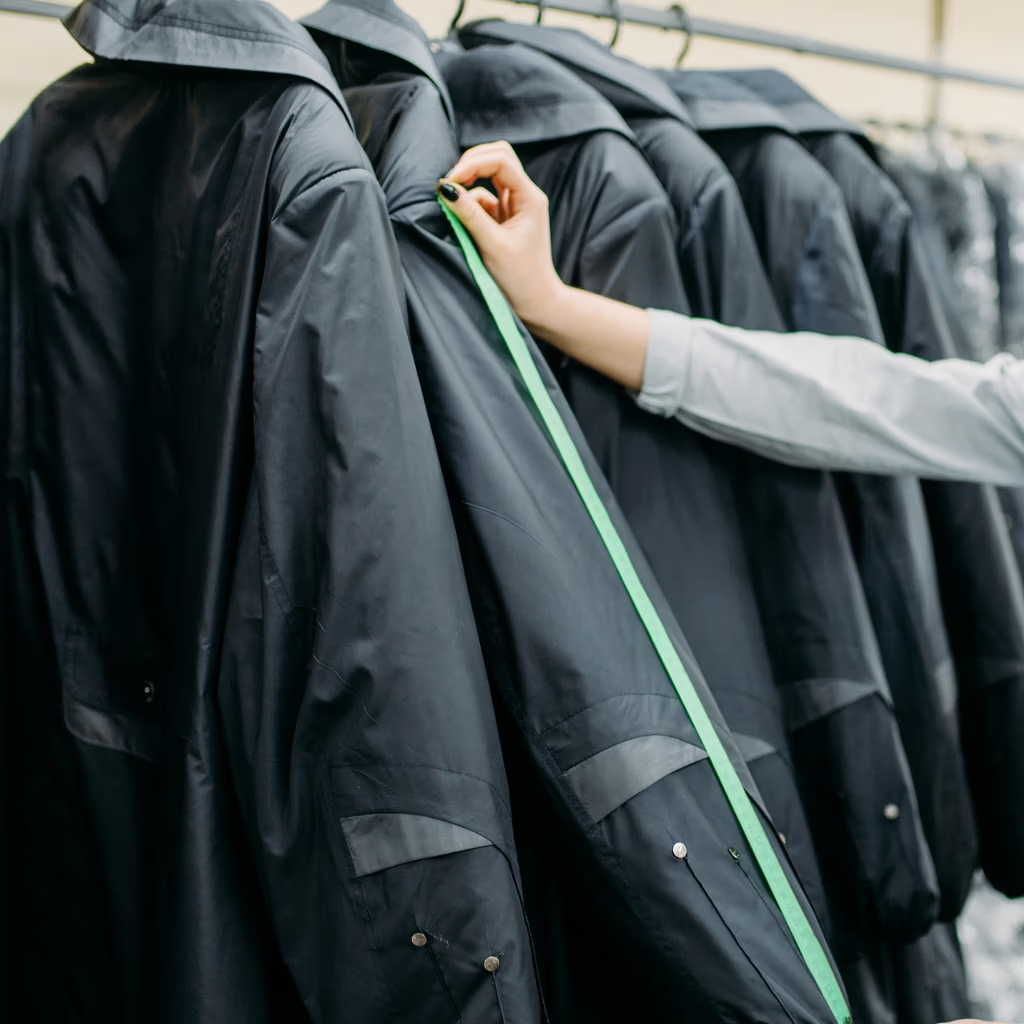
A pre-production sample is the last garment you approve before your bulk order is cut. Once you sign it off, the factory uses it as the standard for every piece that follows, so any mistake you miss now is repeated 50, 500 or 5,000 times.
At BROXAIL International in Sialkot, Pakistan, we make leather and woven textile apparel for brands in more than 40 countries. This guide explains what a pre-production sample is, how it differs from earlier samples, and the 12 checks we suggest every buyer makes before saying yes.
Key takeaways
- What it is: the pre-production sample is made with the final materials, trims and labels, to the final pattern.
- Why it matters: it becomes the signed standard for bulk production and for final inspection.
- Our timing: a sample takes 7 to 10 days, and bulk takes about 3 weeks after you approve it.
- Minimum: 50 pieces per style and design.
What is a pre-production sample?
A pre-production sample, often called a PP sample, is a garment made exactly as the bulk order will be made: same pattern, same leather or fabric, same thread, zips, labels and packing. It is not a design test. By this stage the style, fit and materials have already been agreed. The PP sample confirms that the factory can repeat all of those decisions in one finished piece.
Most buyers see up to three kinds of samples during development:
- Proto sample: shows the idea and the basic construction. Materials may be close substitutes.
- Fit sample: checks size, balance and movement on a real body or form.
- Pre-production sample: the final version, built with approved materials and trims, which you sign off for bulk.
Not every order needs all three. A repeat style with no changes may go straight to a pre-production sample, while a new design usually needs a fit sample first. You can see how these stages connect on our custom clothing manufacturing process page.
Why the pre-production sample matters
Once approved, the PP sample is the reference for three things. First, the cutting and sewing teams copy it. Second, the quality team measures bulk garments against it during final inspection. Third, it settles questions later: if a bulk piece differs from the sealed sample, the sample shows what was agreed.
That is why one approved sample stays at the factory and one goes to the buyer, so both sides compare against the same garment. Inspection teams often work to an acceptable quality limit (AQL), and the pre-production sample is what they measure against.
Pre-production sample checklist: 12 points to check
Lay the sample flat in good daylight, with your tech pack and size chart next to it. Then work through this list one point at a time.
1. Measurements
Measure every point on your size chart: chest, waist, length, sleeve, shoulder and hem. Compare each one with the tolerance you agreed. If you do not have a size chart yet, our custom clothing size chart guide shows how to build one.
2. Fit on a body
Try the garment on a fit model or a person who matches your base size. Raise the arms, sit down and, for riding gear, take a riding position. Look for pulling across the back, tight armholes and sleeves that ride up.
3. Main material
Check that the leather or fabric is the one you approved: weight, hand feel, grain, finish and colour. For leather, look at several panels, because every hide is a little different. Our materials and specifications page lists the leathers and fabrics we usually work with.
4. Colour and shade
Compare colour in daylight and under shop lighting. All panels should match each other and match your reference or Pantone number.
5. Stitching
Look at stitch length, straightness and tension. Seams should be even, without skipped stitches or puckering, and the thread colour should match your tech pack.
6. Seams and reinforcement
Pull gently at stress points such as pocket corners, underarms and the crotch. Bar tacks and reinforcement should sit where your tech pack shows them.
7. Zips, snaps and hardware
Open and close every zip, snap and buckle ten times. Check the puller, the finish and the size. If you named a component brand, it should be the one you agreed.
8. Lining and inner finish
Turn the garment inside out. Seams should be finished, loose threads trimmed and the lining should sit flat without pulling the outer shell.
9. Branding
Check logo position, size and colour for every method: embroidery, print, embossing or patches. Measure the placement from a fixed point such as the centre front or the shoulder seam.
10. Labels and tags
Confirm the main label, size label, care label and hangtags. Check spelling, fibre content wording and the country of origin line.
11. Protection and function
For motorcycle wear, check armour pockets, armour fit and any reflective details. For outerwear, check hood adjustment, cuffs and closures. Skip this point for simple fashion pieces.
12. Packing
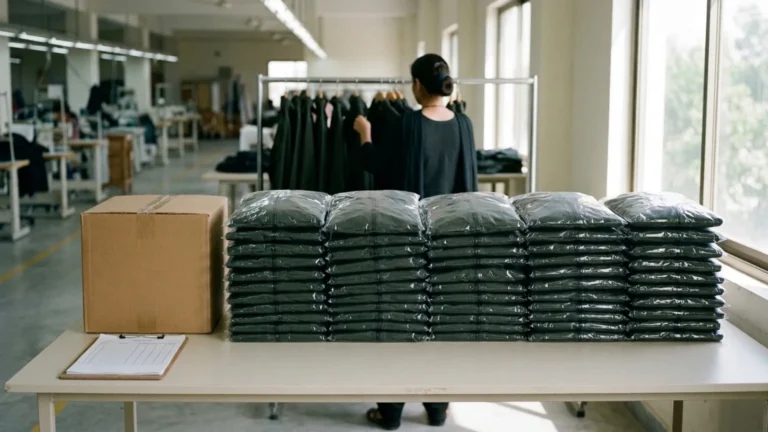
Ask for the sample to be packed the way bulk will be packed: fold, polybag, size sticker and barcode. This avoids surprises when the cartons reach your warehouse.
How to give feedback on a pre-production sample
Clear feedback saves a second round. Take photos with a tape measure in view, mark the problem area and write one comment per point. Say what you want, not only what is wrong: “raise the chest pocket 1 cm” is easier to act on than “the pocket looks low”.
If the changes are small, many buyers approve the pre-production sample with comments, and the factory applies them in bulk. If the changes affect fit or construction, ask for a corrected sample before bulk starts. It adds 7 to 10 days, but that is far cheaper than fixing a whole order.
During sampling and bulk production we send photo and video updates, so you can follow progress without travelling to Sialkot.
What happens after you approve the sample
Approval starts the bulk order. We cut, sew, finish and inspect against the signed sample, and bulk usually takes about 3 weeks from approval. Every style starts from a minimum of 50 pieces; our guide to clothing MOQ explains why we set that level.
Still at the idea stage? Start with a clear tech pack. Ours comes free with your order, and our guide on how to make a tech pack for outerwear shows what to include. Choosing a factory first? Read how to choose a clothing manufacturer.
Frequently asked questions
How long does a pre-production sample take?
At BROXAIL, a sample takes 7 to 10 days once the tech pack and materials are agreed.
Is a pre-production sample the same as a fit sample?
No. A fit sample checks size and shape. A pre-production sample is the final version, made with bulk materials and trims, and it becomes the standard for the order.
Can I skip the pre-production sample?
For a repeat style with no changes, sometimes. For a new style we advise against it, because the pre-production sample is what bulk garments are inspected against.
How many pre-production samples should I ask for?
Usually one per style in your base size. Some buyers also ask for the smallest and largest sizes to check grading across the size run.
What if bulk garments do not match the sample?
Final inspection compares bulk garments with the approved sample, so differences are raised before the goods are packed. This is why a clear, signed sample protects both buyer and factory.
Ready to sample a new style? Send your design, tech pack or reference through our request a quote page, and we will reply with timing and next steps.

Written by
Muhammad Abubakar
Muhammad Abubakar runs BROXAIL International, a custom leather and textile apparel manufacturer in Sialkot, Pakistan. He works with brands, labels and wholesalers from the first sample to delivery.